Assignment |
Handouts/Lessons etc. |
|
|
|
... Pick an Assignment...
Character and Me
It's Just Me Poster
Turn in PSD File to HandIn
Print ALSO!!! |
|
DD-Tutorials- PS-Pop Out (20 points)
Copy the PS_Tutorials Folder to your Desktop
- Pop out Tutorials-Folder-Do the picture they provide name this file Popout1...then do one of your own...Find a picture that is an action shot..name this Popout2. > Must add text of some sort to both with effect. You may do a #3 one for extra credit. (up to +5 points)
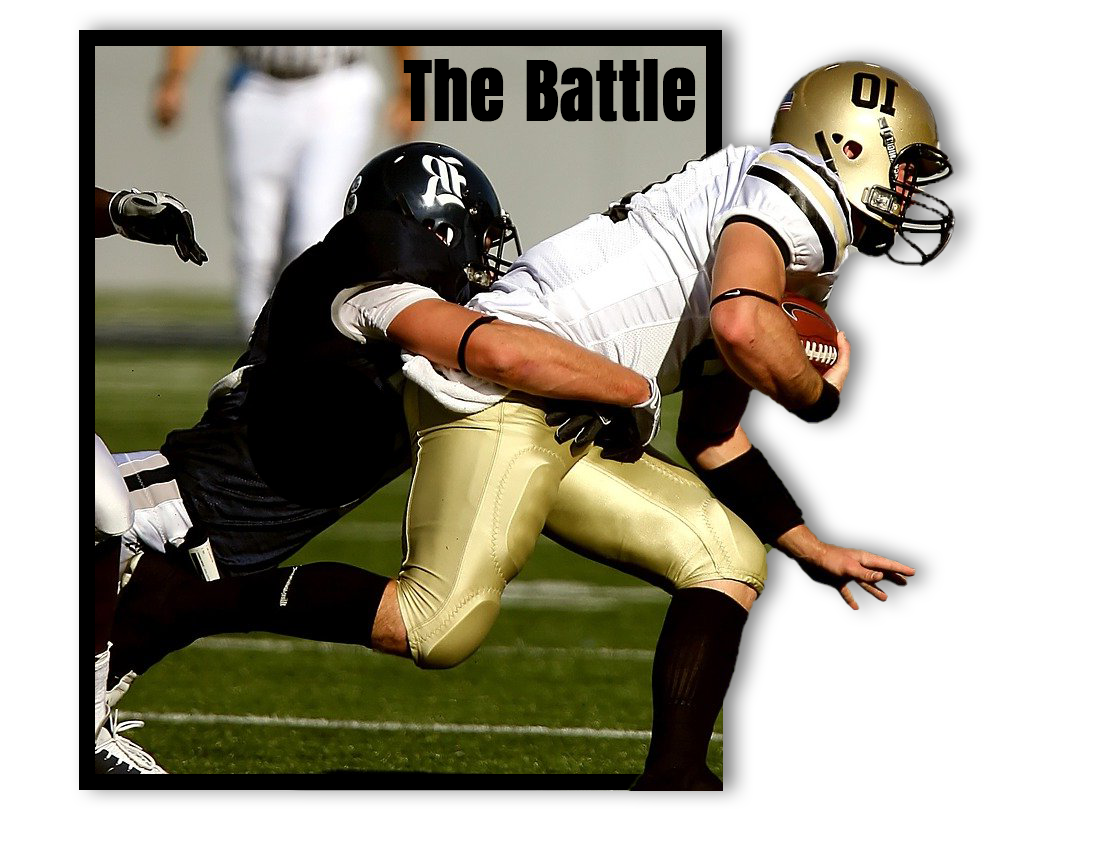
Pop Out Tutorial 2 - Football Guy Image
Save as: LastnameFirstInitial Popout1.
Save as: LastnameFirstInitial Popout2.
Save as: LastnameFirstInitial Popout3... Extra Credit
... Print a Contact Sheet of these tutorials 1 by 3, make sure layers are on. I want popout ones together. Type your name in lower right corner. Print to Color Printer and turn in. You may only have 2 pop outs... that is ok:)
|
|
Create a Website: Add your lastname first inital to the DDWebsite Folder
Day1: Create a Banner in Photoshop... Export as .jpg (Watch video: How to Export Banner) Export into Image Folder.
Day2: Save your Projects so you can put them on the web. We will want a thumbnail for the home page. We then will want to click on it an have it get larger so people can see more details. See Video on exporting as big and small
Thumbnails need to be 200px wide (Height does not matter) Larger one will be 1000px for help See below. Save 200 px with the word small in front, the 1000px with large in front. Example: smalldragon.jpg, largedragon.jpg
- Animated gifs: Export>Save for Web>Gif> Export small as 200 px wide, Large as large as you would like up to 1000 px wide
- Photoshop Projects: Export>Save for Web>change type to jpg or PNG (if Transparent)
- Indesign Documents: Export the Page you would like. File>Export> format JPG, Make resolution 300 high quality (this pops up after you name it). Then take into photoshop and export like above.
Open 5 projects of your choosing: Save for Web...200 Wide and 1000 wide...
Day 3 Set up Dreamweaver> Watch Video
Add to Dreamweaver> How to add your Banner and About you
Day 4 You will add a minimum of 5 of your projects to the page. Watch add your projects and titles. Example of Title: Dragon Project in Photoshop.
Day 5 Editing the CSS Style Site to make it more pleasing... In t he Main you may have to add one style in the style sheet
Make any necessary adjustments> Copy the entire folder> Put this in the appropriate Handin Folder |
Example of Website
rubric
|
Photoshop Days
Photoshop Days: See Handout Here....
|
4th Period must turn in 2..
Others Extra Credit. |
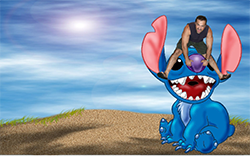
Shadow and Selecting Practice (15 points)
Copy the Virtual Vacation Practice to your Desktop:
- Watch Open Beach-Content Aware Content Aware
- Watch PS-Selecting a guy You will use the Beach-Content Aware as the background.
- Watch PS Adding a Shadow (Save)
- Do this same technqiue with the hotel and the girl.... Should have a shadow(Save)
- Create a 1 column 2 row contact sheet. Save as:ShadowLastnameFIrst initial
- Digitally Put into the appropriate handin folder on Wayne Server.
|
|
| |
|
Project: PS and iMovie Virtual Vacation-See Rubric for more details
Virtual Vacation Project: Part 1- Research worksheet - Make a copy and complete the worksheet. (15 pts)
Screen Shot on a Mac: Command+Shift+4self portrat.ai
https://www.distancecalculator.net/
https://travel.state.gov/content/travel/en/traveladvisories/traveladvisories.html/
Trip Websearch- Turn in when complete. Sites that will help:
Virtual Vacation Part 2- Collect 20 pictures, Must be minimum of 800 px wide and make a contact sheet.Make Contact Sheet. Needs to be 4 columns 5 rows. (20 pts)
Virtual Vacation Part 3-Pose and Take Pictures like you are in the images.
- Take several pictures of yourself—posing in these pictures—could be you and a friend etc. Needs to look like you are actually there. You may reuse only one of the poses. Use your contact sheet as inspiration to figure out how to pose. Be careful not to cut off any parts. Take extra pics.
- Take against Plain background for easier cutting out.
Video on Cutting out (Really start it at about 7:15-- This shows you the refine edge magic)-- Incorporate yourself into at least 8-10 of the 20 pictures you picked.Take Picutres of yourself posing to as if you were in the pictures Incorporating Shadow Video Help
Virtual Vacation Part 4- Photoshop Yourself into at least 10 of these pictures (40 Points) Create a 2 column and 5 row contact sheet of your edited images.
Virtual Vacation Part 5-imovie with following criteria (Save as Vacation Lastname first Initial)
- Get the pictures https://youtu.be/IEq4_KVGRyI
You must have all edited pictures (you may(or may not) include the unedited one--this is up to you) Import these into the media area and put them in an appropriate order on the timeline(10 points)
- Title at beginning with Your Name and Place (add a voice over or video for extra credit Voice Over Example: This is Jane Doe taking you on my Adventure to Australia, I visited the Great Barrier Reef as well as the unforgettable Outback” )
Below this put a background try changing font colors/font/ background colors etc.)— (5 Points) https://youtu.be/5WgnIG1YLoA
- Must make use of transitions AND Ken Burns Effect and use them effectively (EDIT THE KEN BURNS so things are not weird). (10points) https://youtu.be/myyXfYdJi78
- Animated credits at the end—Produced by Your Name, Year you did this video, plus anyone else that may be in pictures with you. (5 points). https://youtu.be/5WgnIG1YLoA
- Video needs to be no more 50 seconds, but at least 25 seconds.
Should be fun to watch—extra credit: Add a gif or graphic that moves using key frames Export the video to .MP4 format save as Vacation LastnameFirstInitial. (5 points) https://youtu.be/66nPRESanMo
- Submit the MP4 to the appropriate handin
|
Trip Rubric
I movie Help:
|
| |
|
iMovie Practice
.... Open imovie and explore and import file
|
30 points
Dolphin |
Project: CD Case
Using the skills you have learned in Photoshop, you are to create a CD cover (front/back spine). You must incorporate the following: text, graphics, color, filters/effects etc. based on good design techniques.
SIZE in CM
BACK: 14.3 cm X 11.8 cm---Binding .7 cm at far right (put a guide in) FRONT: 12.1cm x 11.9 cm
Procedure:
Before you start Photoshop, you must create 2 hand drawn, rough drafts – 1 for the front cover and 1 back/ Spine Drafts must include: This will be worth 5 points
- Background – color, picture?
- Text – how many layers, effects
- Graphics – must have at least 4 not including background—Keep them in your CD Folder so I can see originals. You must incorporate at least _____ image that you took a picture of or a drawing you did (Original)—Make sure you save this in your CD Folder.
Download from the Shard folder the CDProject folder> Rename CDLastnameFirstInitial. Keep all images, fonts etc. Inside this folder.
- Front cover and back should be created as two separate PSD
- Cover must include:
- Band/Artist name, CD name, Original Graphics (minimum of 2) that capture the theme of the CD must be edited in some way and feel original.
- Back
- Song names (minimum of 10 songs), Graphics that tie to the theme on the front
- Band name and CD name on the spine (yes, it’s small)
- Print the cover and back/spine to B/W printer.. If correct then print in color and submit the Disc case put together as well this cover page.
- Put entire folder in appropriate Handin.
|
Rubric and Project

|
Web Exam
Link: WEBXAM: An end of Course Exam for Digital Design
Students will take the webxam, Students with a passing score will be exempt from Final Exams at the end of the year. Students will also earn 1 pt extra credit for every point above passing. Advanced Placement will be given a +5 as well. This also may earn students a C-Tag (College Credit for most schools in the state of Ohio) for a passing score.
|
30 points |
One of Own Comic Strip
Make a Comic of your own.... Same layout. Must have thought/speech Bubble and Comic font as well as 2 boxes (Bottom Box should have your name) (20 Points)
Save as Own ComicLastNameFIrst Initial |
20 points |
Quarter 4 2024 above this line |
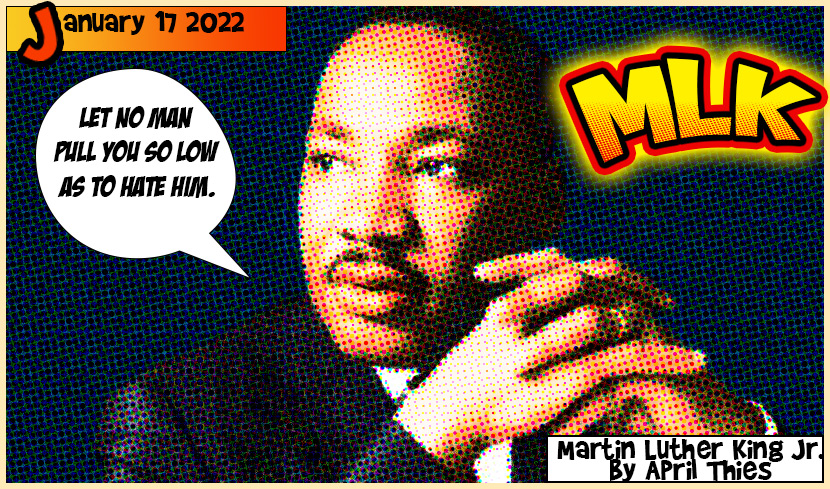
Tutorial Together or On own- Comic Effect
- Copy Comic Effect Folder
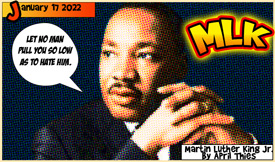
- Open MLK> Crop
- Go to Dafont and Download and install 3 Comic/Cartoon Fonts that you like
- Apply the Comic Tutorial in on the Tutorials to the right
- Add an iniside stroke to your Whole image> Layers effect Panel
- Add text as displayed with YOUR NAME... Except Speech bubble Can make with Pen tool (Make sure it is on shape) and Ellipse...Make this a different MLK quote. Add the MLK using the Cartoon Effect Tutorial (if you did this one... you can replace the word you did and replace with MLK.)
- Save as PSD... and put into Handin Folder.
- MY EXAMPLE VIDEO HERE
Make a Comic of your own.... Same layout. Must have thought/speech Bubble and Comic font as well as 2 boxes (Bottom Box should have your name) (20 Points)
Save as Own ComicLastNameFIrst Initial |
30 Pts=
Retro Comic Strip Tut 1
Retro Comic Strip Tut 2
|
Web Exam Review
Web Exam Review for 15 points> Take until you get over 27 correct
- Anything over 27 is extra credit.... Make sure you put your name on this... Just add a number at the end if you need to take it again.
We will be taking Web Exam Week after Next. If you pass this, you are exempt from Exams at the end of the Year,
Period 4
Period 5
Period 6
| 15 points |
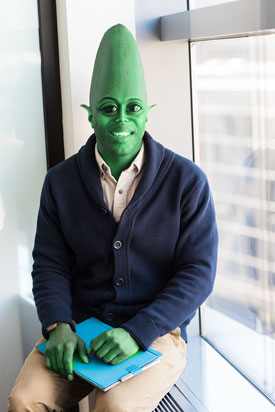
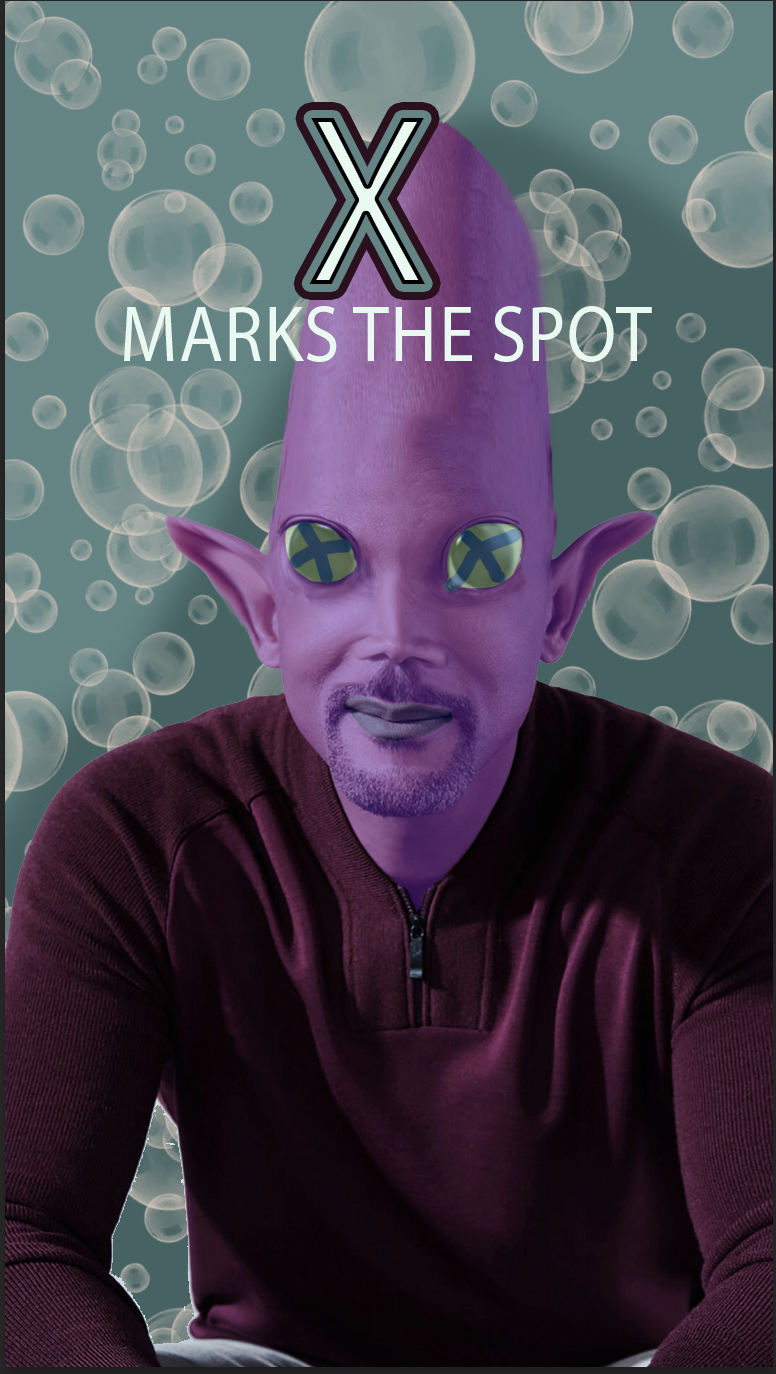
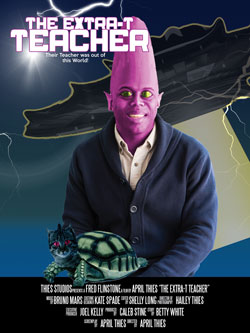
Alien Practice: PS-AlienPractice (20 Pts) and one of own.
Copy the Alien Folderr from the shared area on the server to youur desktop Open AlienPractice.psd
Now do one of your own. You can do yourself or a famous person. Do not do this the same exact way. But you must somehow demonstrate the following, have fun and come up with your unique creature 5" by 7" Print Document: (20 Points)
- File: My AlienLastnameFirstInitial
- Remove the background
- Use of the clone and/Healing brush
- Use of distortion somewhere (Edit>Transform>Distort)
- Use of Liquify tools
- Change of Skin Color or Texture
- Needs a new Background. Put the original image small somwhere in the document.
- Title your Alien like a Movie Title- Take time picking out font and color/effects- Example MAN FROM MARS
- Put your name in lower right corner.
- Make a Contact Sheet that is 1 column and 2 rows and Print to Color Printer.
Some tutorials that help:
| 
|
| |
|
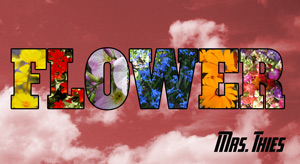
PS- Clipping Mask Assignment
Copy the Clipping Mask Flowers Folder from the Shared Server..
We will do this one together or if not here follow this video... Make sure yours looks similar to the one at the right when done...(10 Points)
- You will have to pick a diffent THICK Font (Impact is good you will have to make larger)
- Different flower each letter (NO OVER LAP- Use Layer mask to fix if there is)
- Add 2 effects (stroke you can show)
- Add cloud background- change color of cloud using adustment layer
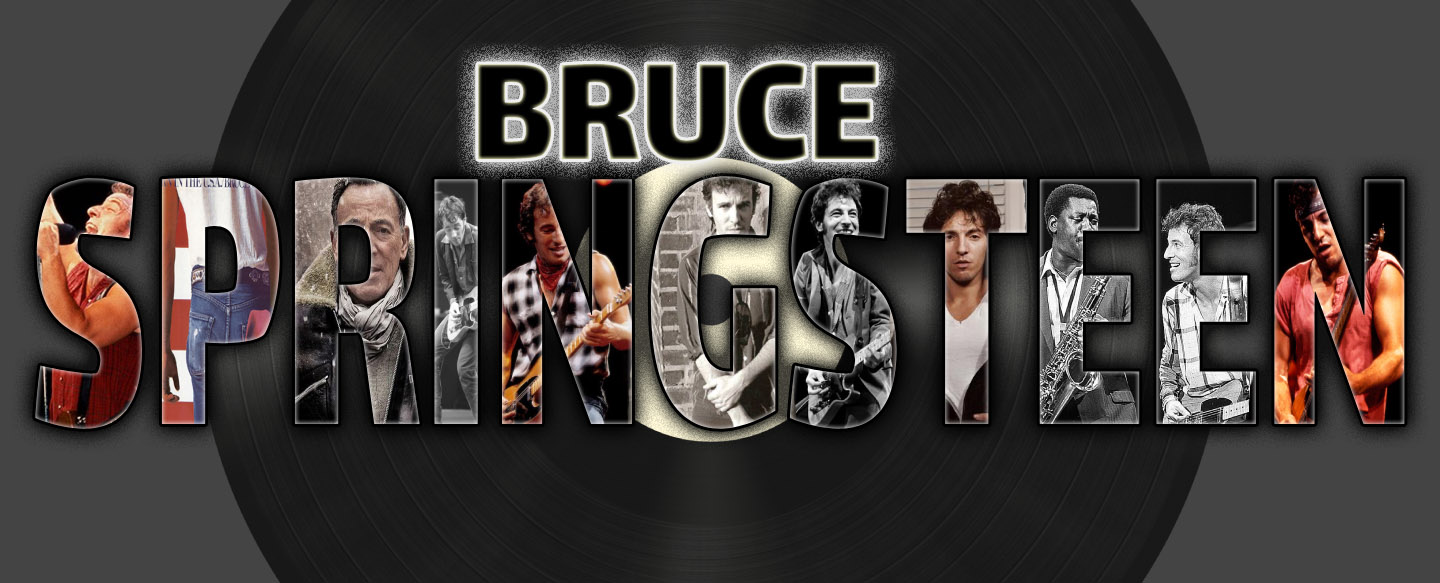
New File in Photoshop: Print 11"x 5" ClippingNameLastName Firstinitial (30pts)
- Download a THICK font to use, Use a thick Font Try looking at Dafont
- Create a Nameplate of a famous person... First and Last....
- Add pictures (minimum of 7 Clipped)
- Add a background
- Add effect/s to text.
- Put copy into Handin Period Folder.
|
|
BUTTONS
Make 3 buttons- Use the template on the Server.
- You only need three... Make sure you hide the Parameter before you print.
- The Parameter is what will actually show on the button.
- Make two of each on the paper so in case you mess up the cutting.
- One button must be Wayne or Year Graduate Related. Class of 2025 etc. You can find wayne logo on Server under Shared>Student work
|
15 points |
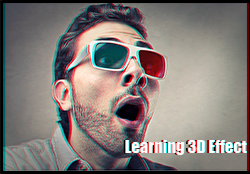
Tutorial- Retro 3DTutorial (20 points)
(Similar to TikTok Logo)
- 3D-Tutorial- 3D-Guy Do the tutorial 3D1 and then do one of your own. Add your Name and apply the tutorial to both Yourself and to the words Save this as 3D2..(3d effect on Text)
Make a contact sheet that is 1 column 2 rows, Print it.
Save as: LastnameFirstInitial 3D1.psd
|
 |
Project: Autobiography Brochure: Indesign: Set up brochure in Indesign (75 points)
See...Autobiography Brochure....AutobiographyLast Name FIrst Initial
Help on Design Vecteezy Free Vector, Brusheezy
If absent: Video for AutoBio Practice-- When done>Export>PDF> Turn in to handin. Make sure your name is in the filename. |
75 Points
Due February 23, Have Printed and Exported as a PDF and turned into handin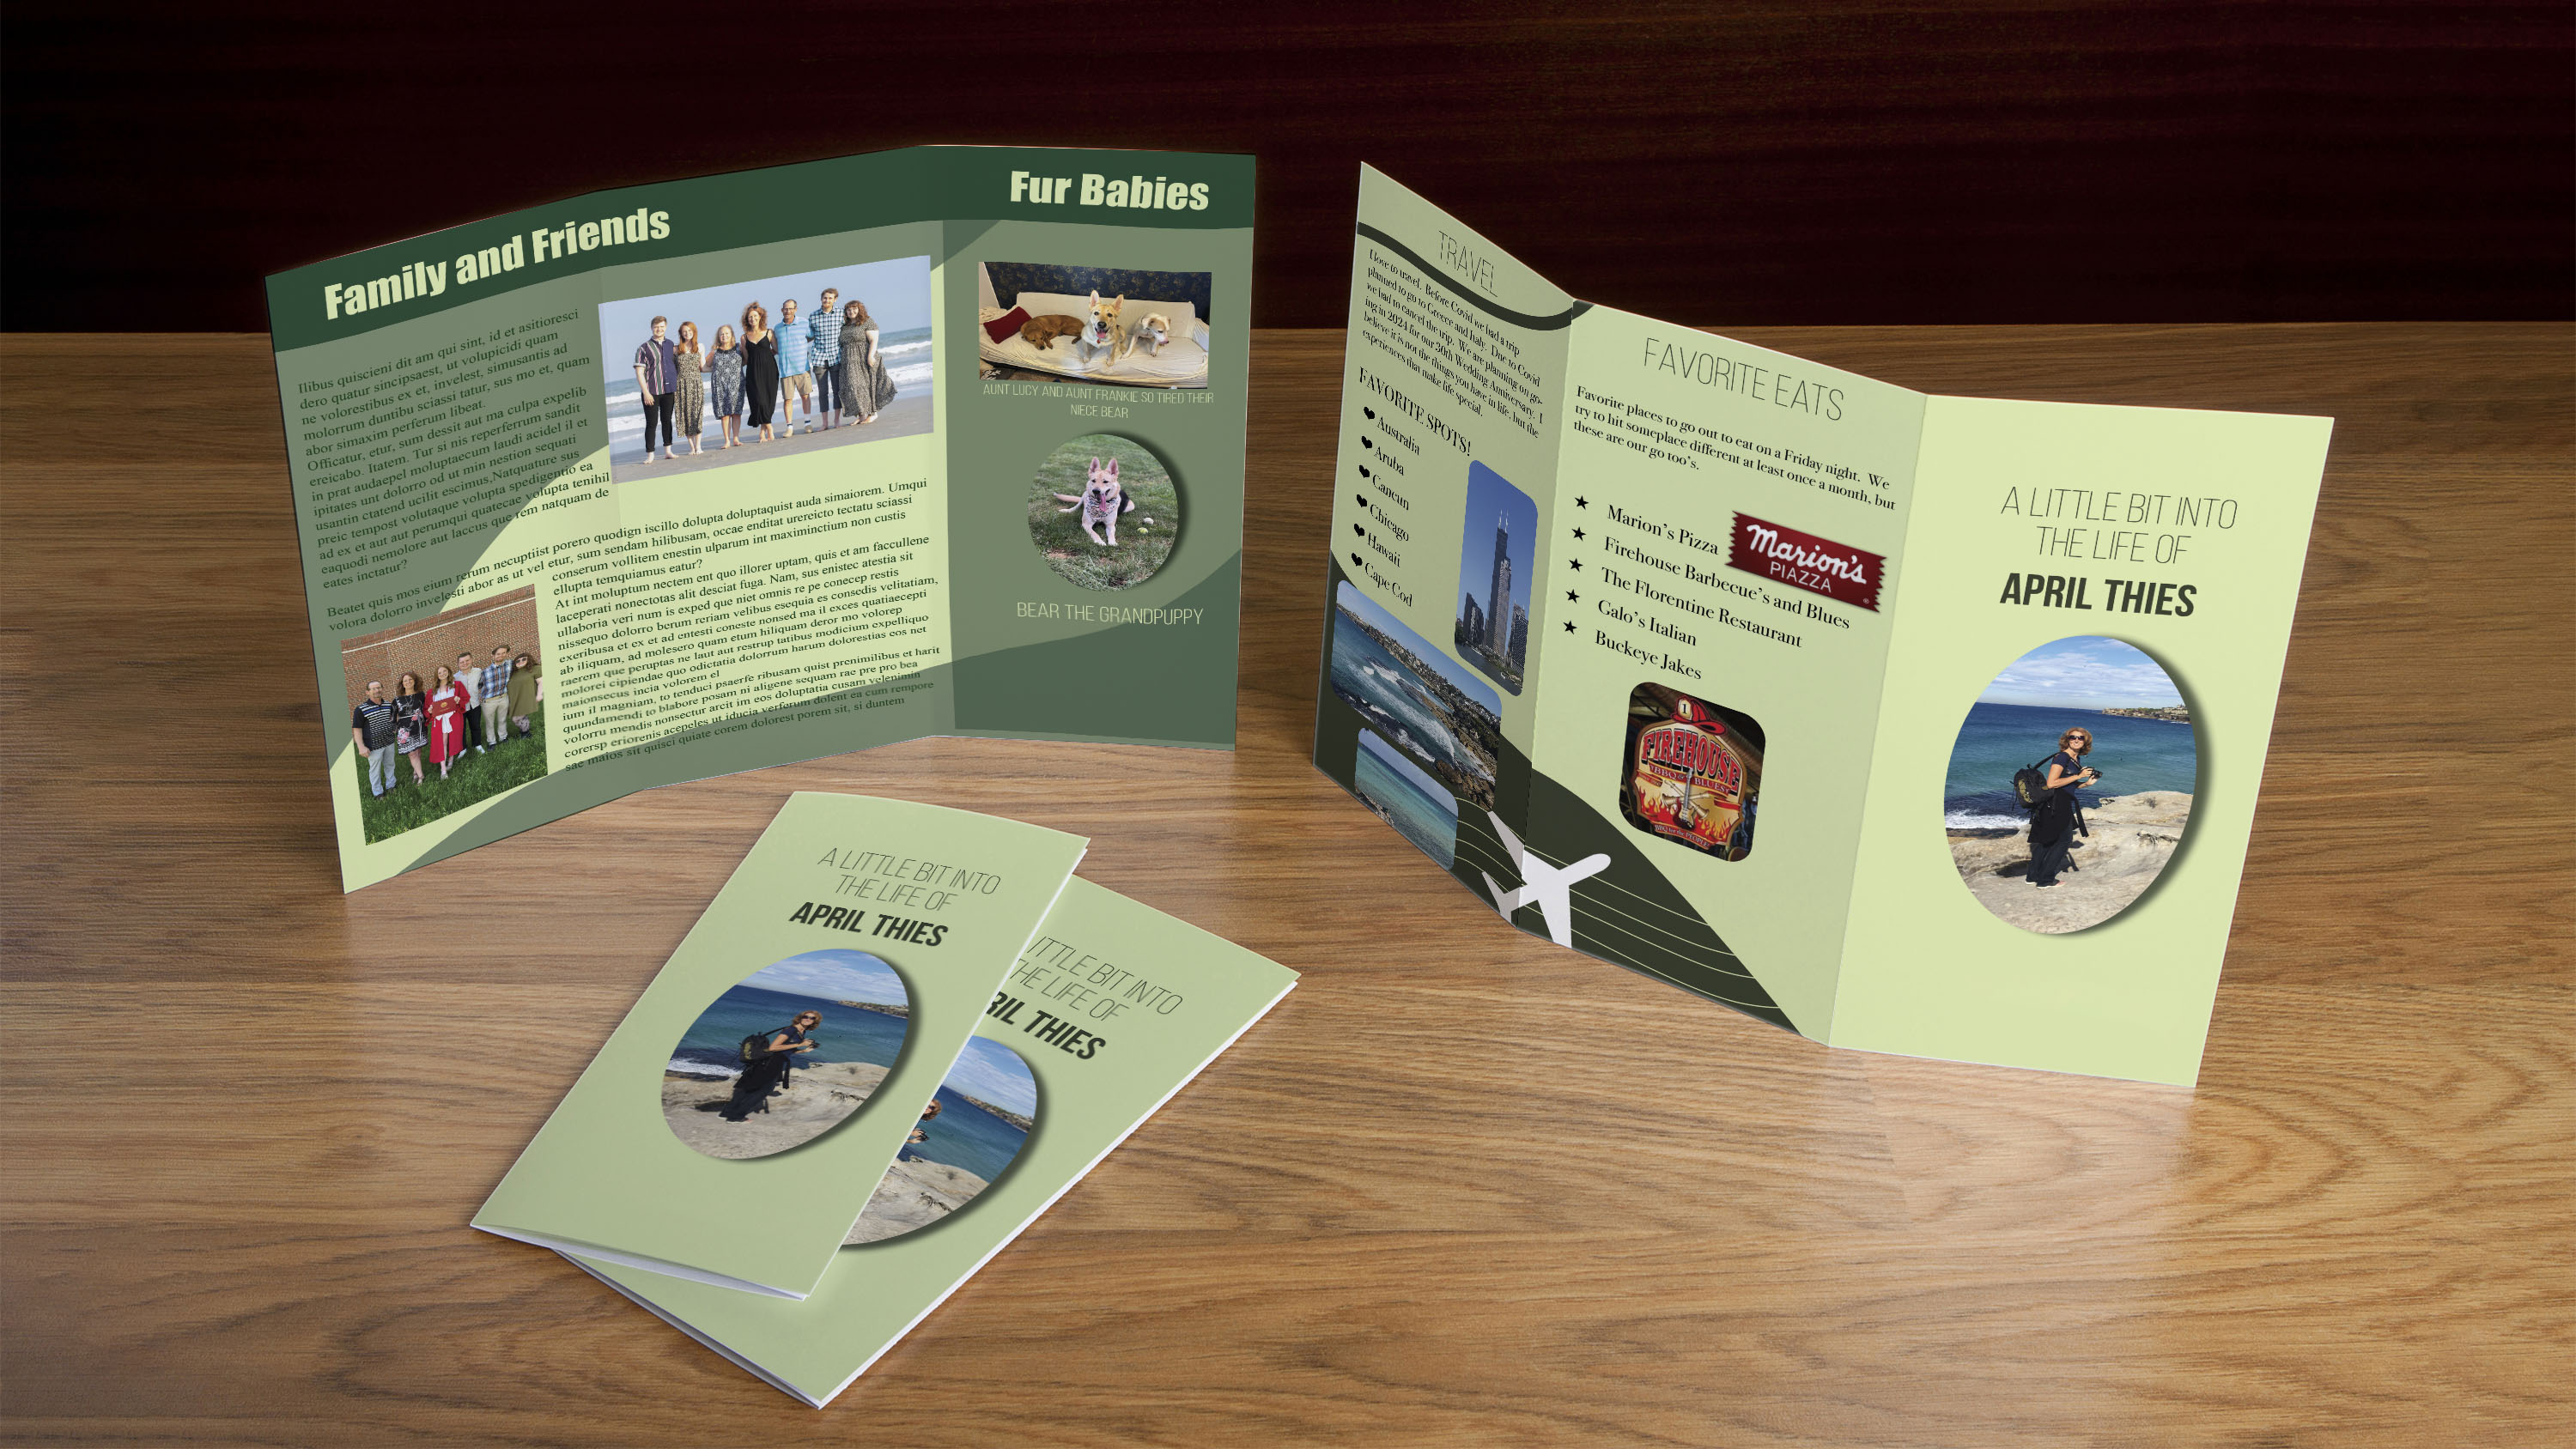
|
Assignment Intro To Animated Gifs: DD-PS-Animated Gifs Assignment
New Folder in Animation Folder called TypeGifs LastnameFirstInitial.
Type Animation-TypeTogether(10), Your own name(10) > Set up Tutorials and See Type Together Tutorial Your name- Start with a Canvas that is 1500 x 600 must have a minimum of 8 frames... and appropriate speed. Have fun, change the color, make your letters bounce, shrink, lean etc....Export both into your TypeGifsLastnameFirstInitial, as animated Gifs. (20 points)
Turn in whold TypeGifsLastnameFirst to the correct handin
May do an extra Word (Awesome, Wayne, Terrific etc.) for extra credit up to +5 must be at least 6 frames.
New Folder... PuppetwarpLastNameFIrst Initial
Puppet Warp- Open Alien and Turtle and do Puppetwarp animation. Create another of your choosing, may download from internet. Needs to be at least 4 frames of puppet warped each- Export all 3 as gif and Put them in a folder called PuppetwarpLastNameFIrst Initial (20 points)
Turn in whole PuppetwarpLastnameFirst to the correct handin
New Folder: Original&TweenLastnameFIrstInitial (40 points total)
Tween
- Tweening-> See TweenTogether Tutorial. The only thing you can tween is position, Effects or Opacity. Use a circle instead of soccerball shown. Name this Tween1.psd, Export as Tween1.gif. (5 Points)
- Tween an item of your choosing changin position, but also either effect or opacity or both....:) Name this Tween2.psd>Export as Tween2.gif (5 points)
Original
- Original gif's of your own.... needs to be at least 8 frames long with some detail. One can be more simple and use a downloaded image (10 pts) the the other, must draw or use shapes, I would suggest turning off New Layers Visable in all frames. 20 points total of (30 points) Canvas should be no larger than 1000 px x 1000 px Export both as: original 1lastnamefirstinitia.gif , second as Original2lastnamefirstinitial.gif
- Turn in whold Original&TweeningLastnameFirst to the correct handin.
Examples: Original page 1- Examples of Ones we are doing together, Original Gifs, Original Animated Gifs using Clipart |
|
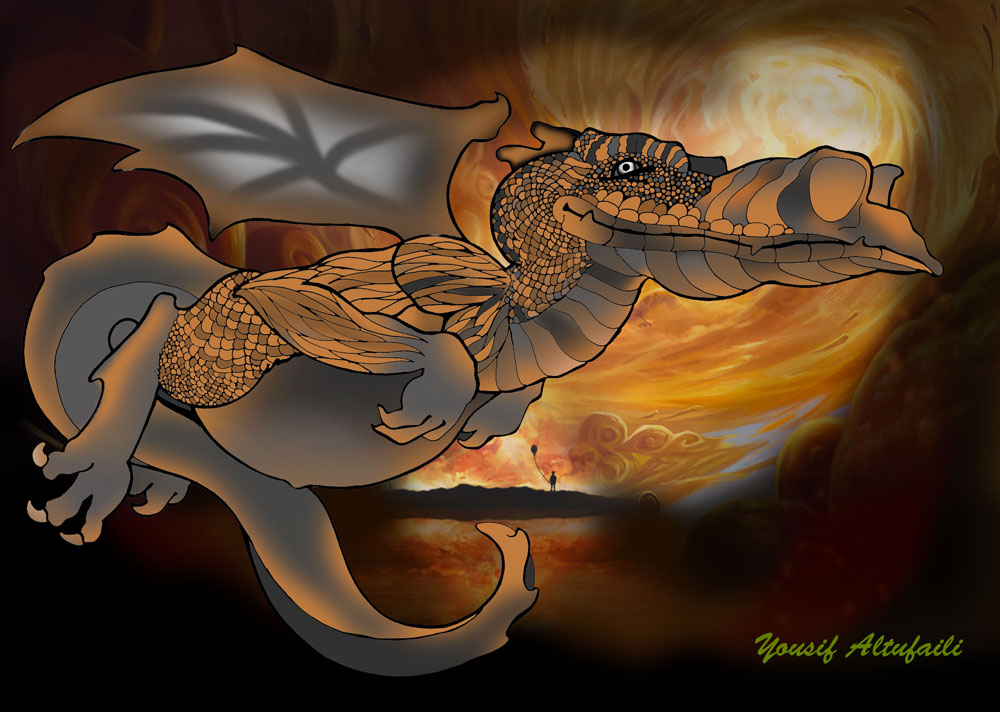
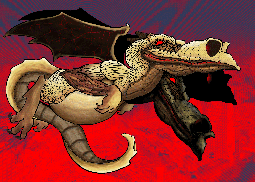
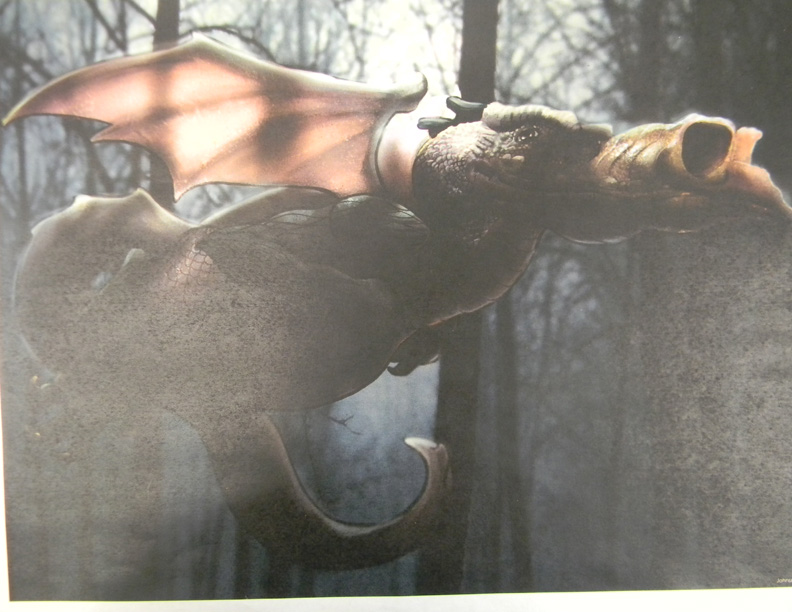
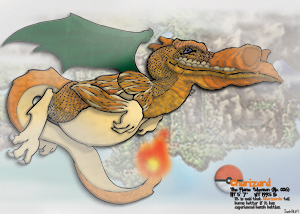
Project: DD-PS-Dragon (100 pts)
Written Rubric for Dragon Project.
The purpose of the Dragon Project is to apply the Photoshop skills learned so far in class. The focus of this project is the skills of creating layers, applying colors, gradients, effects, and texture and other effects to layers. You want to make the dragon appear as 2 or 3 Dimensional as possible.
- Copy the Dragon Project to your area.
- Begin on the outline layer (Duplicate it so you have an original You will hide the original)
- Select a segment(s) on the Dragon (pay attention to tolerance, try 80 or 100
- Layer> new layer via copy, name it with the body part. Make sure you also make use of groups (folders)
- Make sure you lock transparency if necessary.
- Apply color and texture effects as appropriate
- After you have colored the dragon, add shading, highlights or shadows using masking etc… see video.
- Make an appropriate background, may use a high quality image, however you must edit it so that it has been transformed enough that it appears original.
- Put name at bottom right corner. Make this part of the art not standard font.
- Print to color printer (Fit it to page) with this copy below it. If in class...
Videos to help:
Grading:
- Overall look of the Dragon – visual appeal (does it have depth via gradients and effects/textures…do not overuse the blending options—NOT FLAT) does the dragon look whole Dragon should not have white (40)
- Use of layers. Minimum of 45 layers – proper naming/put into folders (Checked on screen) (10)
- Added Shading/shadow highlights/transparency…etc. used to add depth as well. (10)
- Created Appropriate background using brushes and effects… (10)
- Time—Adequate Amount of time spent on Project (10)
- Name put neatly in bottom right corner in appropriate size, color and font. (5)
- Saved as Last Name FIrst Initial Dragon--Put a copy in correct Hand in folder on the Network- Print to Color Printer (10)
|


|
Assignment: DD-PS-Brushes Picture (20 pts)
Create a New Photoshop Document>For Print Landscape (11" x 8.5")
Save as: Brushes Picture Lastname First Initial
Download brusheezy.com Video how to:
- Make a Picture of something using at least 3 Different Brushes. Use at least 5 of them.
- Make sure each brush is on its own layer so that you can more easily edit it. Make sure it has a background ex. Halloween Scene, City Scene, House Scene, Farm, Mountain etc.
- Add an effect on at least one item....
- Put your name and period in lower right corner> and turn into the Handin Folder.
|
|
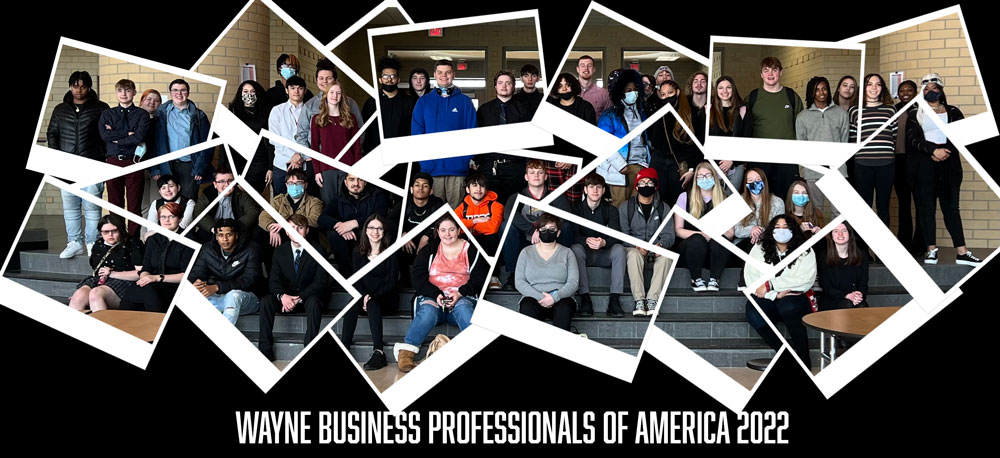
BPA Competition (40 Points)
This is a credit grade based on Staying on task and effort put into the competition. It is not about completeing it is about effort. |
|
Quarterly Daily Grade (50 Points)
|
|
Quarter 3 2024 Above this Line |
Below this line are possible Assignments. |
Create a Website: Add your lastname first inital to the DDWebsite Folder
Day1: Create a Banner in Photoshop... Export as .jpg (Watch video: How to Export Banner) Export into Image Folder.
Day2: Save your Projects so you can put them on the web. We will want a thumbnail for the home page. We then will want to click on it an have it get larger so people can see more details. See Video on exporting as big and small
Thumbnails need to be 200px wide (Height does not matter) Larger one will be 1000px for help See below. Save 200 px with the word small in front, the 1000px with large in front. Example: smalldragon.jpg, largedragon.jpg
- Animated gifs: Export>Save for Web>Gif> Export small as 200 px wide, Large as large as you would like up to 1000 px wide
- Photoshop Projects: Export>Save for Web>change type to jpg or PNG (if Transparent)
- Indesign Documents: Export the Page you would like. File>Export> format JPG, Make resolution 300 high quality (this pops up after you name it). Then take into photoshop and export like above.
Open 5 projects of your choosing: Save for Web...200 Wide and 1000 wide.... Can Also watch this Video on Exporting
Day 3 Set up Dreamweaver> Watch Video
Add to Dreamweaver> How to add your Banner and About you
Day 4 You will add a minimum of 5 of your projects to the page. Watch add your projects and titles. Example of Title: Dragon Project in Photoshop.
Day 5 Adding Links> and Editing the CSS Style Site to make it more pleasing... In the Main you may have to add one style in the style sheet
Day 5 for 4th Period-Duplicate the pictures page and rename it Resume (right click on the resume file in Dreameaver>click edit>Duplicate- Doubleclick on it and rename it Resume-Add Resume (Do not have to do Resume)
Day 6 Create your Picture page>Open Picture.html
- Add your Banner at the top,
- Link your navigation
- add a picture (image) of yourself (make sure you make a small-200px and large file 1000 px keep both in images folder)
Make any necessary adjustments> Copy the entire folder> Put this in the appropriate Handin Folder |
|
DD-Tutorials- PS-Pop Out (20 points)
- Pop out Tutorials-Folder-Do the picture they provide name this file Popout1...then do one of your own...Find a picture that is an action shot..name this Popout2. > Must add text of some sort to both with effect. You may do a #3 one for extra credit. (up to +5 points)
Pop Out Tutorial 2 - Football Guy Image
Save as: LastnameFirstInitial Popout1.
Save as: LastnameFirstInitial Popout2.
Save as: LastnameFirstInitial Popout3... Extra Credit
... Print a Contact Sheet of these tutorials 1 by 3, make sure layers are on. I want popout ones together. Type your name in lower right corner. Print to Color Printer and turn in.
|
|
Investigate Covers-- Open Magazine Cover Researchfound in the Magazine Folder
- Answer the questions to the magazine already placed in the document.
- Find 3 more magazine covers (they must be different names) and answer questions.
- Type your name and print and Turn in.
--See start of example here |
20 points |
Assignment: Symmetry in Photoshop
Create a folder called Symmetry Yourlastnamefirstinital:
- Set up a document 4" x4" for print resolution (300) Save as:Symmetry1, Symmetry2, Symmetry3, Symmetry4 ect
- Watch this video on Symmetry Tool for inspriation and instruction:
- Create 4 different symmetry images. Use different symmetry tools (dual axis, wavy, spiral, radial and Mandala using different segments. Use different colors, sizes etc. Make use of layers. Need to have at least 5 layers.... MINIMUM
When done: Create a contact sheet of all 4 use 2 columns and 3 rows Type your name on the contact sheet and PRINT OUT Also put a copy in handin as SymmetryLastnameFirstinital. May do 2 extra for extra points |
Contact sheet- PRINT...
20 points |
Tutorials: DD-PS/IND-Comic Tutorial
- Look at the 2 tutorials at the right to get a feel for what you are creating.
- Pick a close up image of yourself or other person.
- Must have a caption for your picture...
- Current date
- Border
- Must have a thought bubble or Speach Bubble.
- Comic Font of some sort. See example here
- Put Your name in lower left corner...very small, but readable. (See example)
Save them...DO NOT PRINT YET! See Poster Below to submit!
Create an Indesign File in your Tutorials Folder called Comic Poster: Size is 5.5" Wide by 8.5" Height, .3" Margins.. Be Creative... But your Mini Poster MUST HAVE:
- Title: Digital Design Comic Strip in Photoshop
- Add Your Comic Book Image and the original image.
Must have name on your comic somewhere
- Border of some sort
- Design elements... Lines, color, fun text, etc. See example here
Make this your own...do not just copy this one. |
Retro Comic Strip Tut 1(Before you make it a halftone, covert the layer to a smart filter for easier adjustment)
Retro Comic Strip Tut 2
Retro Comic Strip Tut 3
40 points |
Tutorial Together or On own- Comic Effect
- Copy Comic Effect Folder
- Open MLK> Crop
- Go to Dafont and Download and install 3 Comic/Cartoon Fonts that you like
- Apply the Comic Tutorial in on the Tutorials to the right
- Add an iniside stroke to your Whole image> Layers effect Panel
- Add text as displayed with YOUR NAME... Except Speech bubble Can make with Pen tool (Make sure it is on shape) and Ellipse...Make this a different MLK quote. Add the MLK using the Cartoon Effect Tutorial (if you did this one... you can replace the word you did and replace with MLK.)
- Save as PSD... Then Export as a JPG and put into Handin Folder.
- MY EXAMPLE VIDEO HERE
|
20 Pts= Put into Google Classroom.
Retro Comic Strip Tut 1
Retro Comic Strip Tut 2
|
Project: Autobiography Brochure: Indesign: Set up brochure in Indesign (75 points)
See...Autobiography Brochure....Students will set up 2 pages in a New Folder called: LastnamefirstinitialAutobio
Set Landscape... 3 columns, margins .125, bleed .125
Fold guides at 3.66667, 7.33334
Safe Guides .25, 10.75, .25, 8.25 |
75 Points
Due February 17, Have Printed and Exported as a PDF.
|
Color Theory:
Color Theory Notes: Notes Worksheet Google Slide of Notes
Assignment 1:
- Open Color Swatches.psd> Make each section the corresponding color schemes.
- Save into the Color Folder
Assignment 2: Rename Folder with your lastname First Initial added to end.
Kahoot over Color Color Theory
Quiz over Color Theory on Friday... |
|
Pencil Sketch- PS Tutorial
- Copy Pencil Sketch image from the Shared Digital Design/Semester2 Folder
- Open the Image in Photoshop
- Remove the Background from the image and put a colored background below your image of your choosing (I have already removed the one of Bruno for you... But when you do one of your own, you will need to remove it first)
- Desaturate the image: Image>Adjustments>Desaturate
- Duplicate the Layer: Right Click on Layer>Duplicate>rename layer> Duplicate
- Invert the new duplicate layer: Click image> Adjustments>Invert
- Change Blending Mode of the Duplicate layer: (in layer Panel by default it will be on normal) to Color Dodge (It will disappear don't freak out)
- Add a Gaussian Blur: Filter>Blur>Gaussian Blur) (Change radius until it looks like a pencil drawing)
- Change color of sketch: Select the Duplicate Layer> Hold Cmd or Ctrl Key down>Click on Thumbnail>Add adjustment layer> Either Color, Pattern or Gradient
- Change Adjustment Layer Blending Mode to A mode of your choosing, I like over lay but you might like another.
- Add Text to this of the person in the pictures name in an appropriate font, not default.... Then add your name in lower right corner.
- Save as Pencil Sketch and Pencil Sketch Practice adding lastname first initial at then end of each.
- File>Export as JPG (Both of them).. Submit 2 files...
Video- This video is done in Photopea, but same things apply in Photoshop: https://www.ctctube.com/videos.php?watch=6292&HD=1
You need to do Sketch Practice of Bruno, and one of your own, You can pick a picture of yourself or a downloaded image to apply this technique to....:)
Submit both Images as JPG's. |
20 points
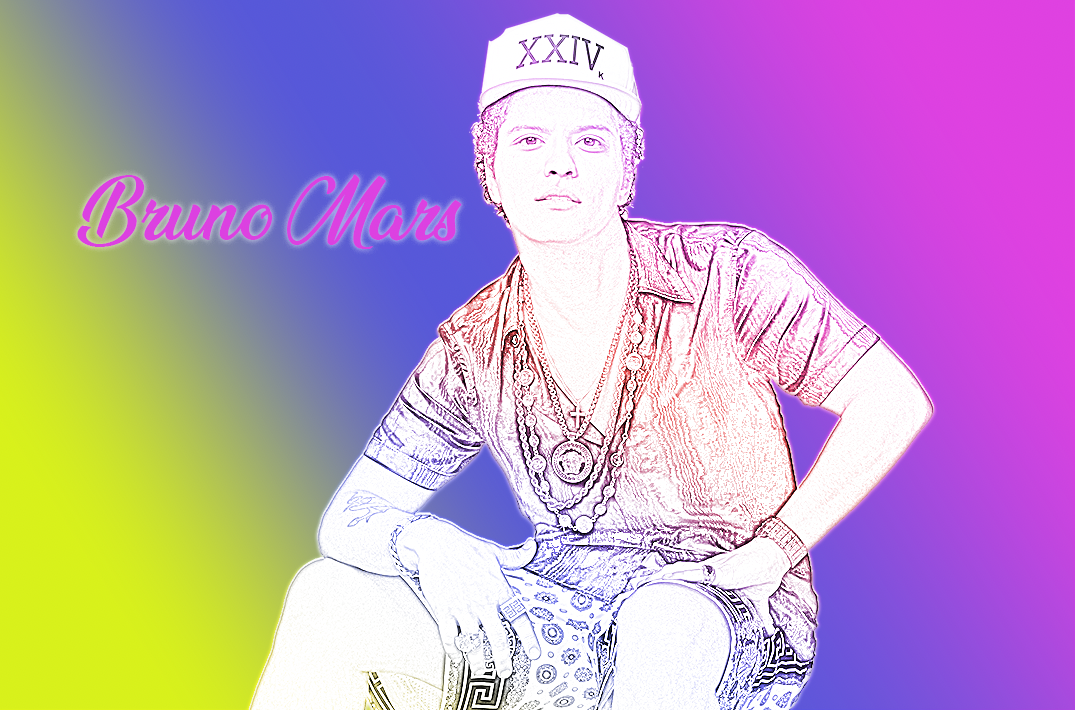
Example of Bruno Pencil Sketch |
Web Exam Review
Web Exam Review for 15 points> Take until yo
u get over 27 correct
- Anything over 27 is extra credit.... Make sure you put your name on this... Just add a number at the end if you need to take it again.
We will be taking Web Exam Week after Next. If you pass this, you are exempt from Exams at the end of the Year,
Period 4
Period 5
Period 6
| |
Alien Practice: PS-AlienPractice (20 Pts) and one of own.
Copy the Alien Folderr from the shared area on the server to youur desktop Open AlienPractice.psd
Now do one of your own. You can do yourself or a famous person. Do not do this the same exact way. But you must somehow demonstrate the following, have fun and come up with your unique creature 5" by 7" Print Document: (20 Points)
- File: My AlienLastnameFirstInitial
- Remove the background
- Use of the clone and/Healing brush
- Use of distortion somewhere (Edit>Transform>Distort)
- Use of Liquify tools
- Change of Skin Color or Texture
- Needs a new Background. Put the original image small somwhere in the document.
- Title your Alien like a Movie Title- Take time picking out font and color/effects- Example MAN FROM MARS
- Put your name in lower right corner.
- Make a Contact Sheet that is 1 column and 2 rows and Print to Color Printer.
Some tutorials that help:
|
|
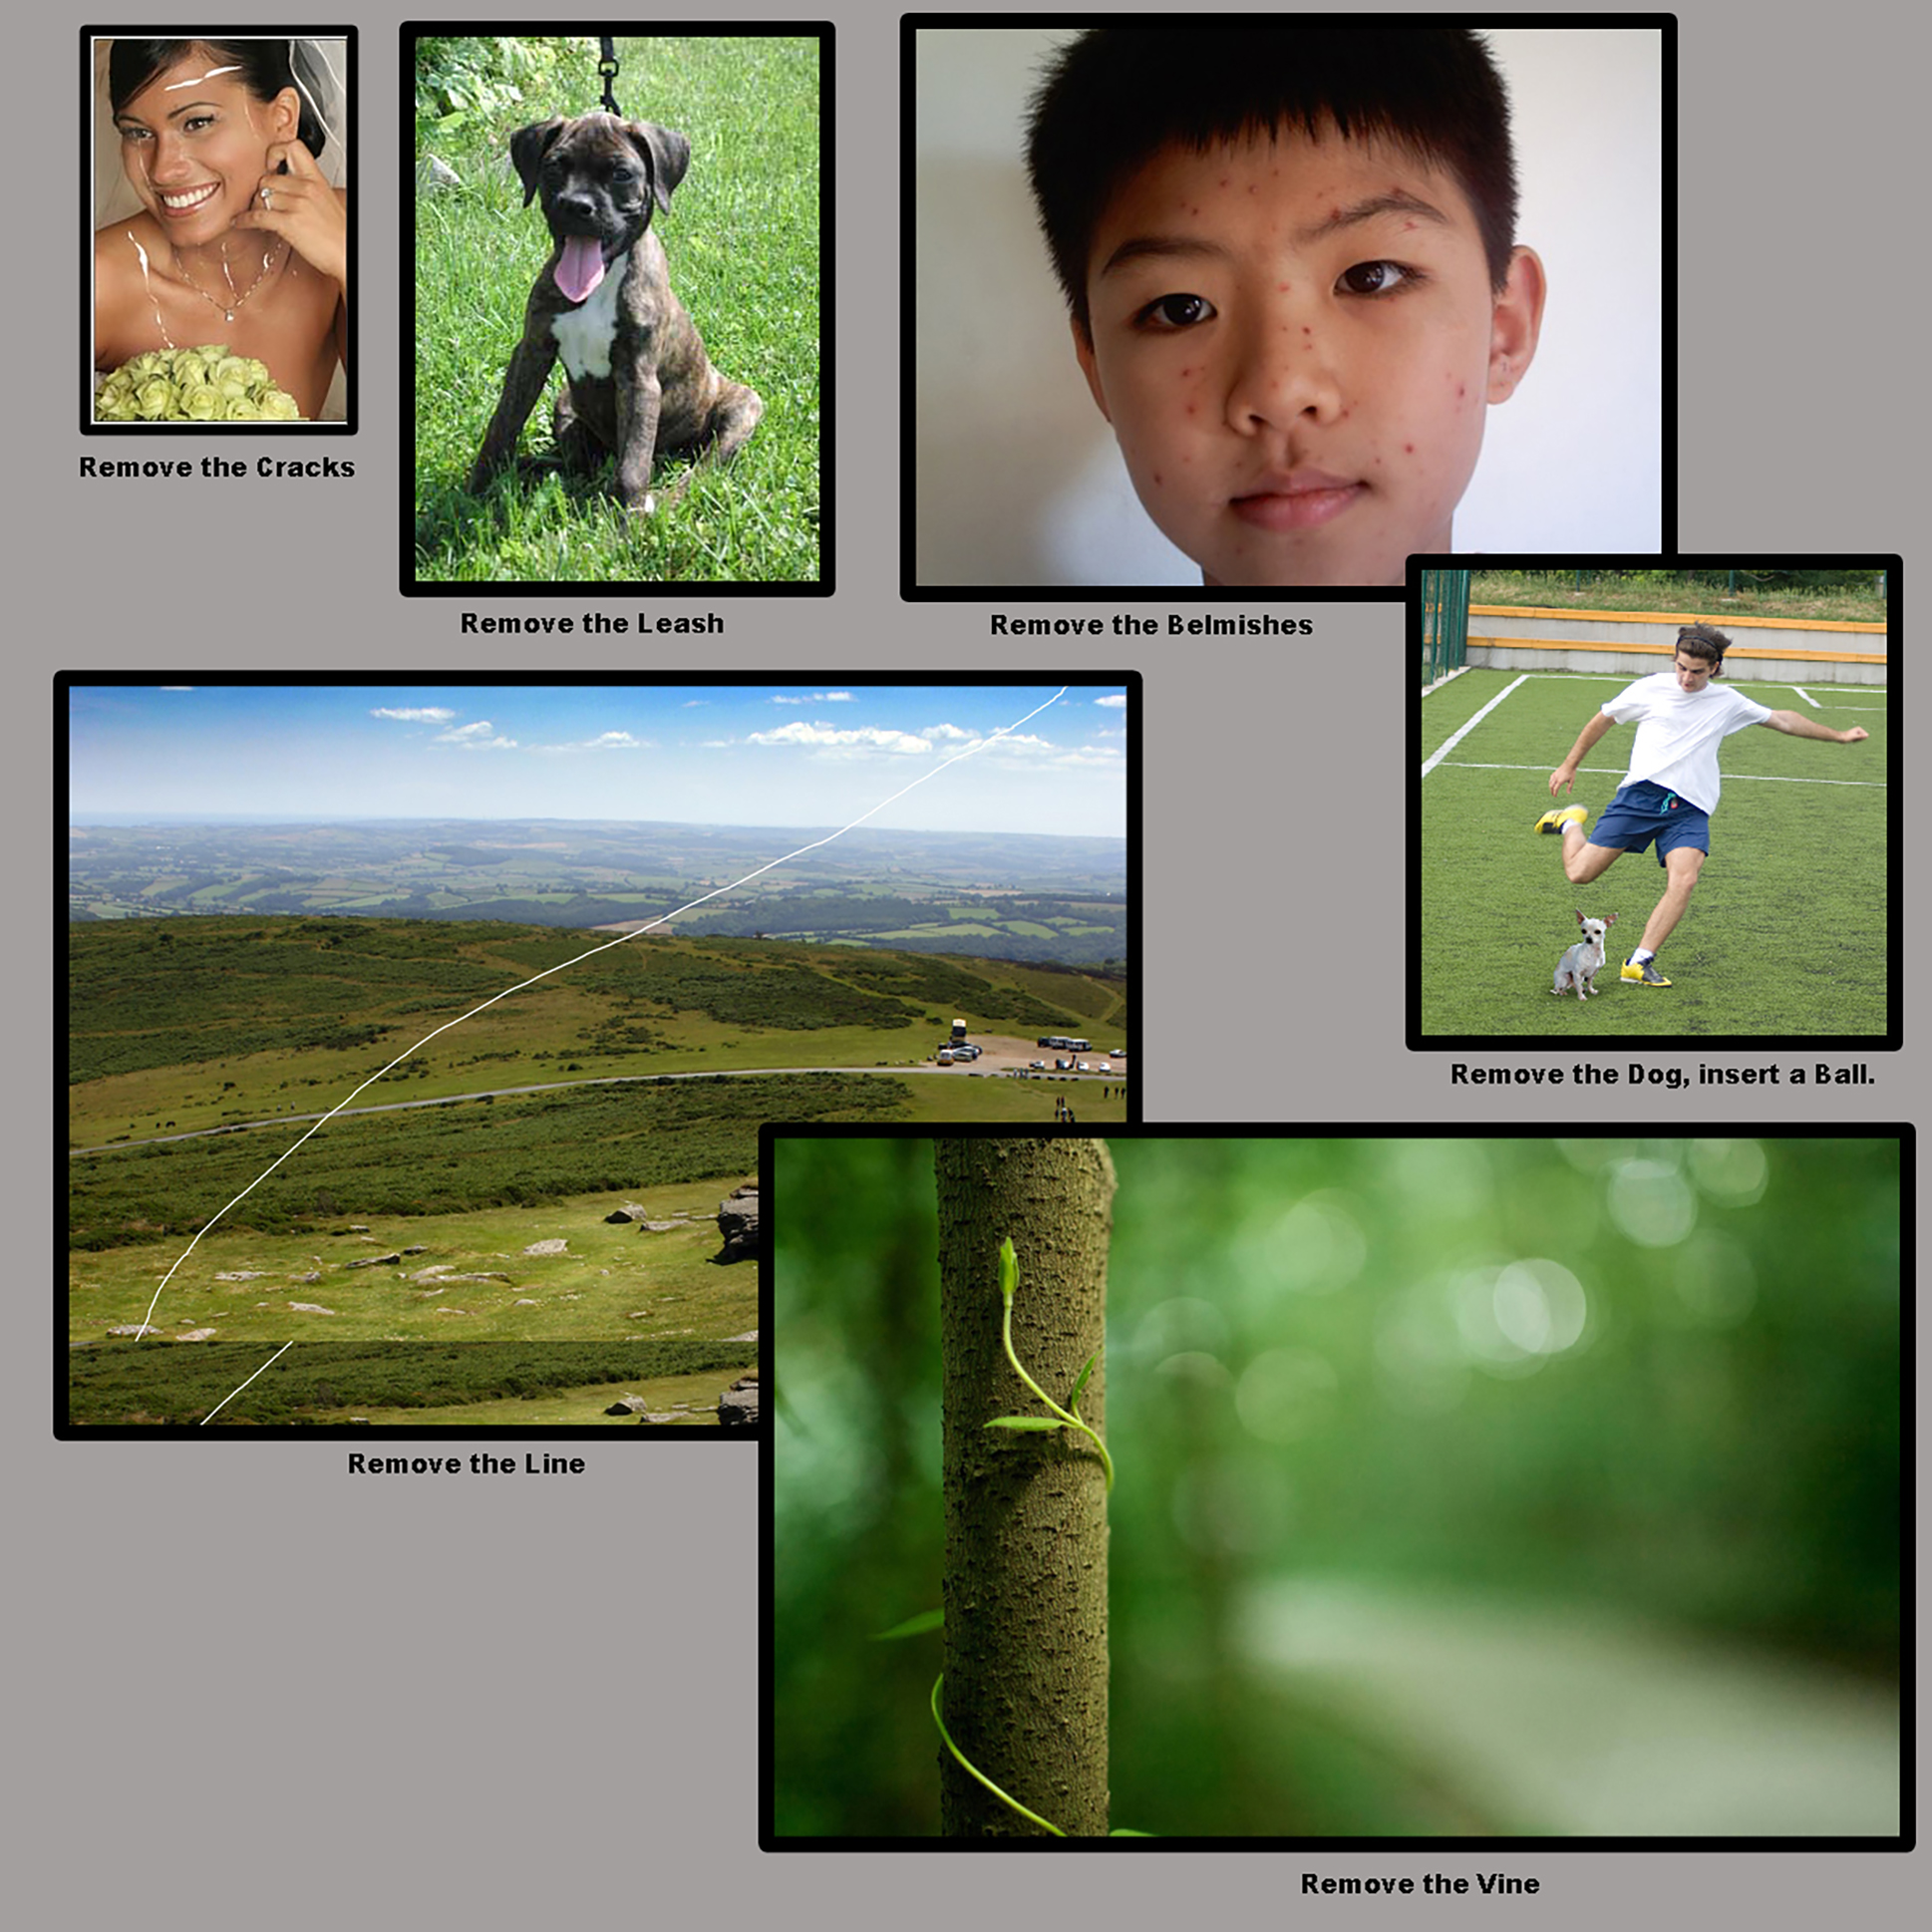
PSRemoving and Repairing images
Repair each image at the right. Use appopriate tools: Cloning, Content Aware, Healing, Spot Healing etc. Save as LastnameFirstInitial Repaired.psd
|
 |
Assignment Intro To Animated Gifs: DD-PS-Animated Gifs Assignment
Type Animation-TypeTogether(10), Your own name(10) and another word of your choice (5)> See Type Together Tutorial - Your name- 1500 x 600 must have a minimum of 8 frames... and appropriate speed. Have fun, change the color, make your letters bounce, shrink, lean etc....Export all 3 into a folder called TypeGifs LastnameFirstInitial, as animated Gifs. (25 points)
Puppet Warp- Open WarpTogether do together or watch video supplied and two of own clipart warp (5 each)> See WarpTogether Tutorial 1000x 600 or so. Needs to be at least 4 frames of puppet warped each- Export all 3 as gif and Put them in a folder called PuppetwarpLastNameFIrst Initial (20 points)
EXTRA CREDIT: Alien guy and Lady Bug will be 2 extra points each if you want to turn it in.
New Folder: Original&TweenLastnameFIrstInitial (40 points total)
Tween
- Tweening-> See TweenTogether Tutorial. The only thing you can tween is position, Effects or Opacity. Use a circle instead of soccerball shown. Name this Tween1.psd, Export as Tween1.gif. (5 Points)
- Tween an item of your choosing changin position, but also either effect or opacity or both....:) Name this Tween2.psd>Export as Tween2.gif (5 points)
Original
- Original gif's >of your own.... needs to be at least 8 frames long with some detail... one can be more simple the the other, must draw or use shapes, I would suggest turning off New Layers Visable in all frames.... 15 points each total of (30 points)
Examples: Original page 1- Examples of Ones we are doing together, Original Gifs 2018
Another Helpful Tutorial
|
|
Below are from last year... We may or may not do these... |
Tutorial for 1st Pixel- Open PSTutorial Stretch 1
StretchPixel Stretch Tutorial
Do Pixel Streatching1 and 2... Then one of your own... You may have to make the canvas larger for yours |
 |
PSTutorial- PS-Vexel (10 pts each)
Vexel Art Images - A Raster Image giving a feel of a Vector image...
Create a New Folder Vexel-Put your images in here.
Complete ONE SELF PORTRAIT IMAGE and ONE PORTRAIT or OBJECT or PET IMAGE.
Refer to the following tutorial: How to Create Stunning Vexel Art Images
How to make the second one....
The photographs must be original; that means you must take them!
All someone else should do is press the shutter on the camera or button on the phone if you are using your cell phone to take the photograph. Make sure the resolution is high and that your images are sharp (no camera shake or blurriness).
Consider the Principles of Art and Designs you create your image.
Type your name on the imge of yourself... Type something else on the other image you chose, a quote, a name etc.
Save as LastnameFirstInitial_SelfVexel and LastnameFirstInitial_ObjectVexel
I would like you to print a 1 column 2 row Contact Sheet- Portrait |
|
PSTutorial-Multiply Yourself (15 pts)
- To easily Stack your photos in one Photoshop document Go to File>Scripts>Load Files into Stack... Pick your files
- Develop a picture of yourself with yourself at least 7 times.You will need a tripod and a Location. See the IMM site for help. You can do this in Photoshop. See tutorial here Another Multiplicity Tutorial Photoshop start at 4:47 Have fun with it...See tutorial here Another Tutorial Multiplicity
- Type your name in the lower right corner
- Make sure it fits to a single sheet of paper, either portrait or landscape depending on how you set it up (Most likely landscape)
|
 |
| Senior Poster Project/PSA (Public Service Announcement Poster) or other idea. May be printed if enough time and effort was spent on this... See Poster Page... |
|
Pencil Sketch- PS Tutorial
- Copy Pencil Sketch image from the Shared Digital Design/Semester2 Folder
- Open the Image in Photoshop
- Remove the Background from the image and put a colored background below your image of your choosing (I have already removed the one of Bruno for you... But when you do one of your own, you will need to remove it first)
- Desaturate the image: Image>Adjustments>Desaturate
- Duplicate the Layer: Right Click on Layer>Duplicate>rename layer> Duplicate
- Invert the new duplicate layer: Click image> Adjustments>Invert
- Change Blending Mode of the Duplicate layer: (in layer Panel by default it will be on normal) to Color Dodge (It will disappear don't freak out)
- Add a Gaussian Blur: Filter>Blur>Gaussian Blur) (Change radius until it looks like a pencil drawing)
- Change color of sketch: Select the Duplicate Layer> Hold Cmd or Ctrl Key down>Click on Thumbnail>Add adjustment layer> Either Color, Pattern or Gradient
- Change Adjustment Layer Blending Mode to A mode of your choosing, I like over lay but you might like another.
- Add Text to this of the person in the pictures name.... Then add your name in lower right corner.
- File>Export as JPG (Both of them).. Submit 2 files...
Video- This video is done in Photopea, but same things apply in Photoshop: https://www.ctctube.com/videos.php?watch=6292&HD=1
You need to do Sketch Practice of Bruno, and one of your own, You can pick a picture of yourself or a downloaded image to apply this technique to....:)
Submit both Images as JPG's. |
20 points
Example of Bruno Pencil Sketch |
Tutorials...Choose one... May do another for extra credit
Make a new folder called Type effects--- Make all of these files 2000pixels (MAKE SURE IT IS PIXEL) x 1400 pixels (MAKE SURE IT IS PIXEL) 300 resolution
Choose from the type effects from this site type tutorials .... Use your Name as the word, or another word if you would like to use it for another project....
Helpful hints:
Cartoon effect: Make effects larger if your font is larger than they say. Create the pattern, Open the file, Edit>Save pattern... You may have to enlarge the pattern.... I had to use 500%
Design Metallic Embossed effect: Here is the Dot pattern you will have to download and instlal (Open the file, go to Edit> Define Pattern... May have to mess with scaling
Billowing Smoke Text- I would suggest a masking layer instead of erasing, set your brush to black soft and opacity on the brush way down.
|
|
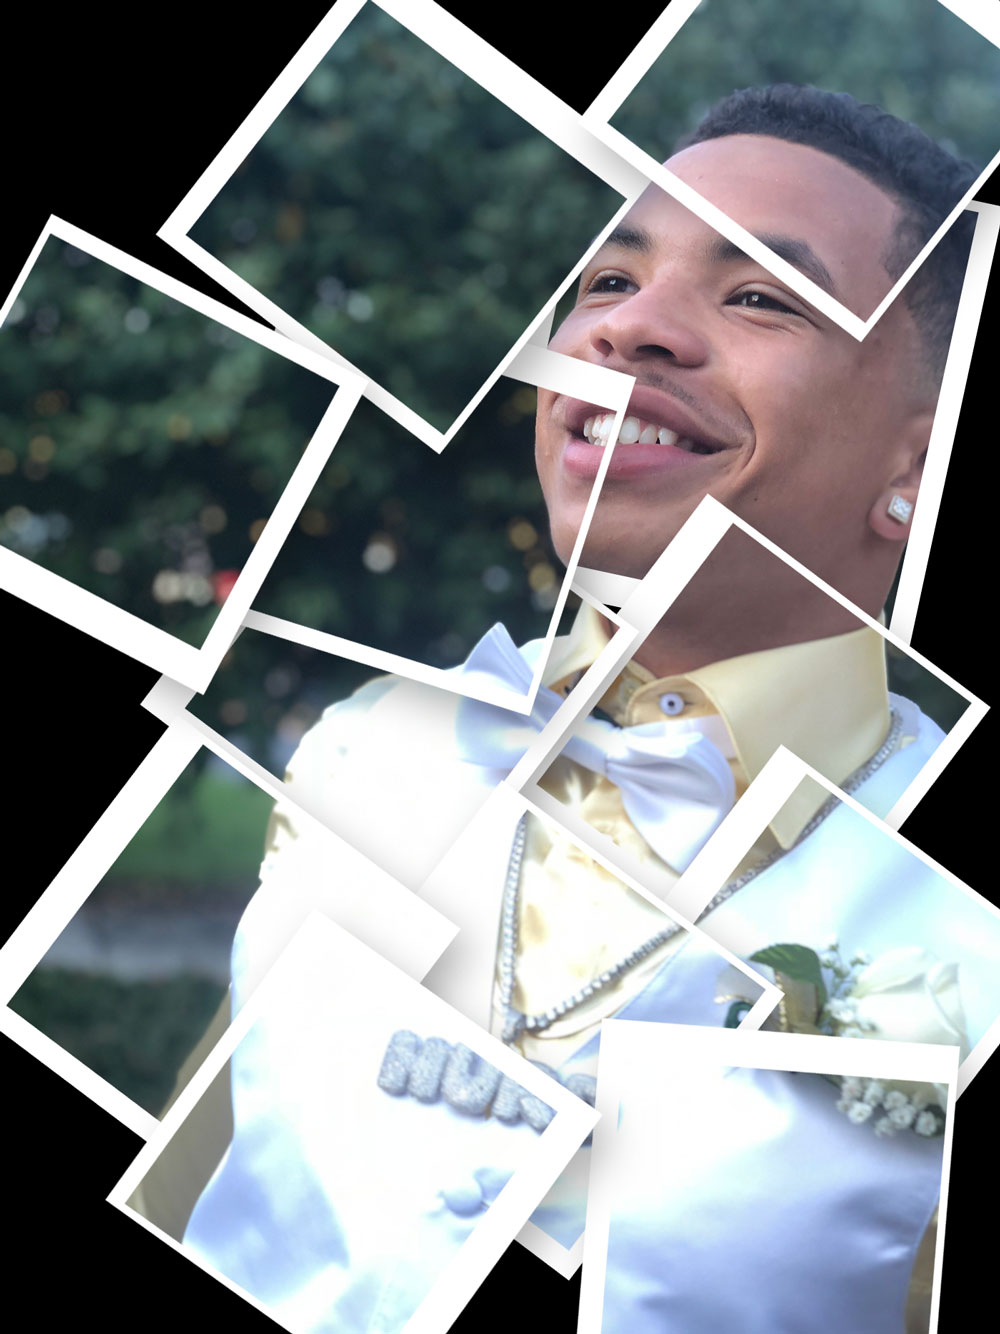
Tutorial: PS-Polariod Collage
Select a picture of your choosing to apply the following tutorial. Make sure it is 200 resolution within a 7" by 5" or 5" by 7" depending on image orientation. (Must have at least 10 selections/polaroids.)Add your name to the bottom of the document.
Save as: Tutorial Polaroid. Type name in corner
Print to color Printer
Polaroids Tutorial
| 20 pts
|
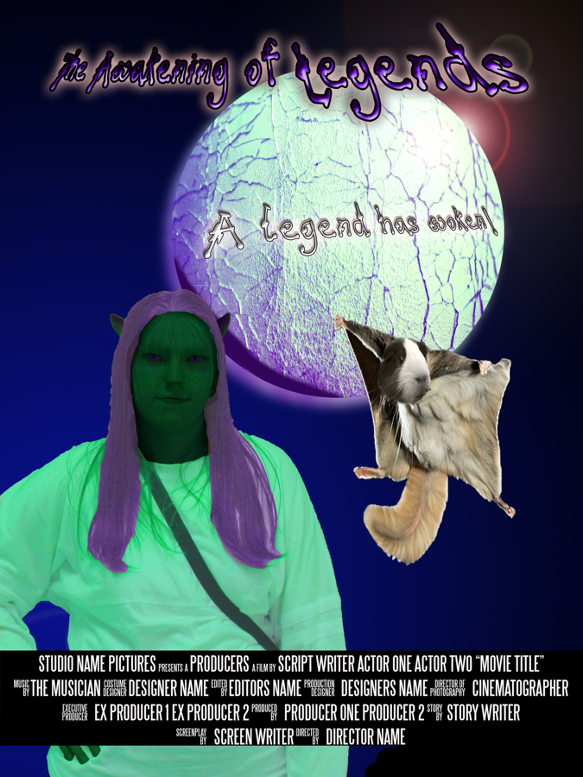
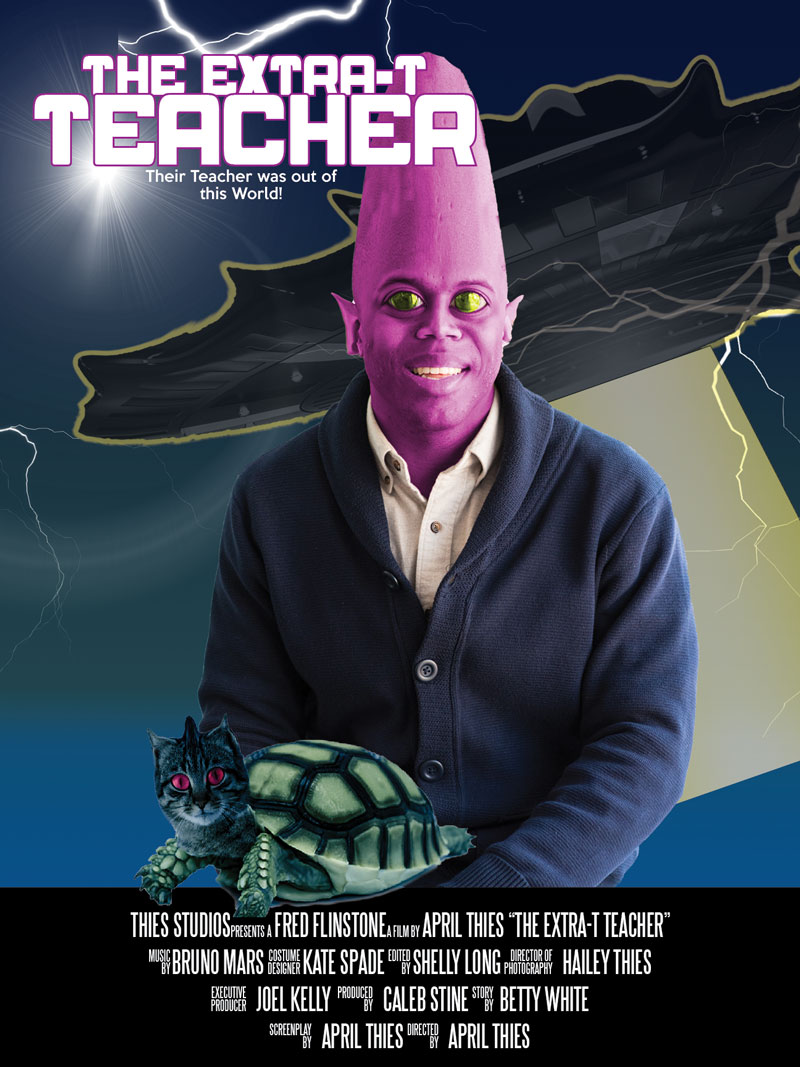
Alien/Monster Poster: Movie Poster
Create the Cat-turtle from the New Animal Folder: (10 pts)
- Title and Tagline of your Poster.
- Create your Monter, Use Liquify, Blending modes, Coloring of skin Make yourself a Monster or Alien.
- Make an Unholy animal that is your pet... merge 2 animals together using masking, distorting, liquify etc... Make sure you pick ones that go together.
- Make your own background using brushes from https://www.brusheezy.com/ or other.
- Make your own planet, try one of the following tutorials.
Simple Planet in photoshop or Planets using textures.
- Credits..You can make up names, but you need them and they need to be completed.
Some tutorials that help:
| Movie poster Rubric and directions
|
Assignment: PS-MeInCartoonWorld
Pick a Coloring page: You can find one online or here Download and open in Photoshop
Figure out how you can add yourself into the picture, I do not want you just standing in the drawing. You will have someone in class take a picture of you and you will put yourself into the cartoon scene.
(add at least 2 gradients, name layers, Add a background if no scene and add a texture... Put your name on it neatly ... print it 7" wide let height be automatic.) |
 |
Half Text2
Final Name: HalfText1, HalfText2
HalfTextTutorial. Files: John Lennon: Save as HalfText1, Do anothe image similary, HalfText2.
When Complete: Make a 2 x 3 Contact sheet of the above 5 files and print to the color printer.... Type your name on the Contact sheet in the left over space and turn in.
|
30 pts |
Tutorial2S2
FileName: NeonLight1, NeonLight2
Add the Neon Light tutorial to the image provided then to another image of your choosing.
Adding a Shadow: Incorporating Shadow Tutorial
- Together shadow practice- or watch above tutorial if absent or need reinforcement
- Shadow Paris Streets...add kids then appropriate shadow
- Shadow Beach...add kids then appropriate shadow
Selecting objects:
Print all 7 Edited files (the ones underlined above) in this folder to a contact sheet....Create a 3 by 3 Contact Sheet . Type Your name at the BOTTOM RIGHT LARGE SO I CAN SEE. Print to Color printer.
Contact sheet>File>Automate>Contact Sheet>Select Files you need (See underlined above) >Change to 3 rows 3 Columns.
If you need more help watch this video..Video on Cutting out (Really start it at about 7:15-- This shows you the refine edge magic) |
|
| Photoshop Tutorial- Andy Warhol Tutorial-- Need a 4 or 6 up of an original image. (6 up done well will be +5 bonus)-- Put your name in lower right one... Small. Print to color printer. |
30 pts |
Use a picture of yourself
Tutorial Typography Portrait |
|
DD-Tutorials 1- PS-Pop Out/ Retro 3DTutorial (25 points)
(Similar to TikTok Logo)
- 3D-Tutorial- 3D-Guy Do the tutorial 3D1 and then do one of yourself (the picture we took of you crop to a near head shot- Put your Name in Photoshop on it and apply the tutorial to both Yourself and to the words Save this as 3D2..(3d effect on Text)
Save as: LastnameFirstInitial 3D1.
Save as: LastnameFirstInitial 3D2.
Save as: LastnameFirstInitial 3D3... Extra Credit
- Pop out Tutorials-Folder-Do the picture they provide name this file Popout1...then do one of your own...Find a picture that is an action shot..name this Popout2. > Must add text of some sort to #2. You may do a #3 one for extra credit.
Pop Out Tutorial 2 - Football Guy Image
Save as: LastnameFirstInitial Popout1.
Save as: LastnameFirstInitial Popout2.
Save as: LastnameFirstInitial Popout3... Extra Credit
... Print a Contact Sheet of these tutorials 2 by 3, make sure layers are on. I want popout ones together and 3d ones together with Filenames (Correctly doing the contact sheet is 5 points)- Type your name in lower right corner. Print to Color Printer and turn in.
|
|


